

Prepare the workbook
Tap plus, then Import expenses from Excel. Use Download Excel template for the supported layout. Fill a copy with your own rows; leave the original source workbook untouched.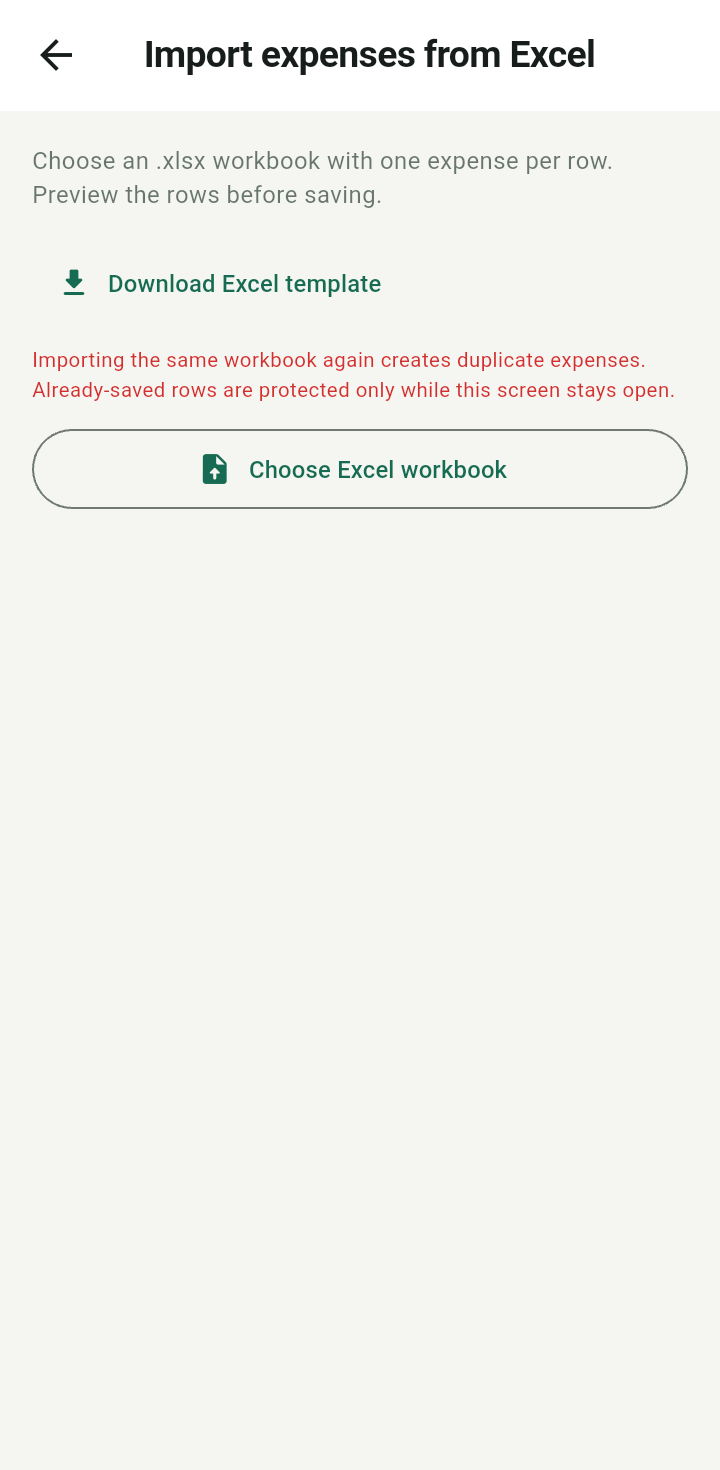
Import expenses from Excel screen with template download and workbook selection
Columns are Date, Item / description, Amount, Fee, Currency, Account, Bucket, and Expense category. Use the existing account, bucket, and expense-category names. Blank currency uses the matched account currency or your base currency. Blank optional labels do not require invented descriptions.Preview and import
- Tap Choose Excel workbook, select an .xlsx file, then choose its worksheet.
- Review the rows and their errors before saving. Fix unmatched names or invalid amounts in the workbook and select it again if needed.
- Select the valid rows you intend to add, then use the import button.
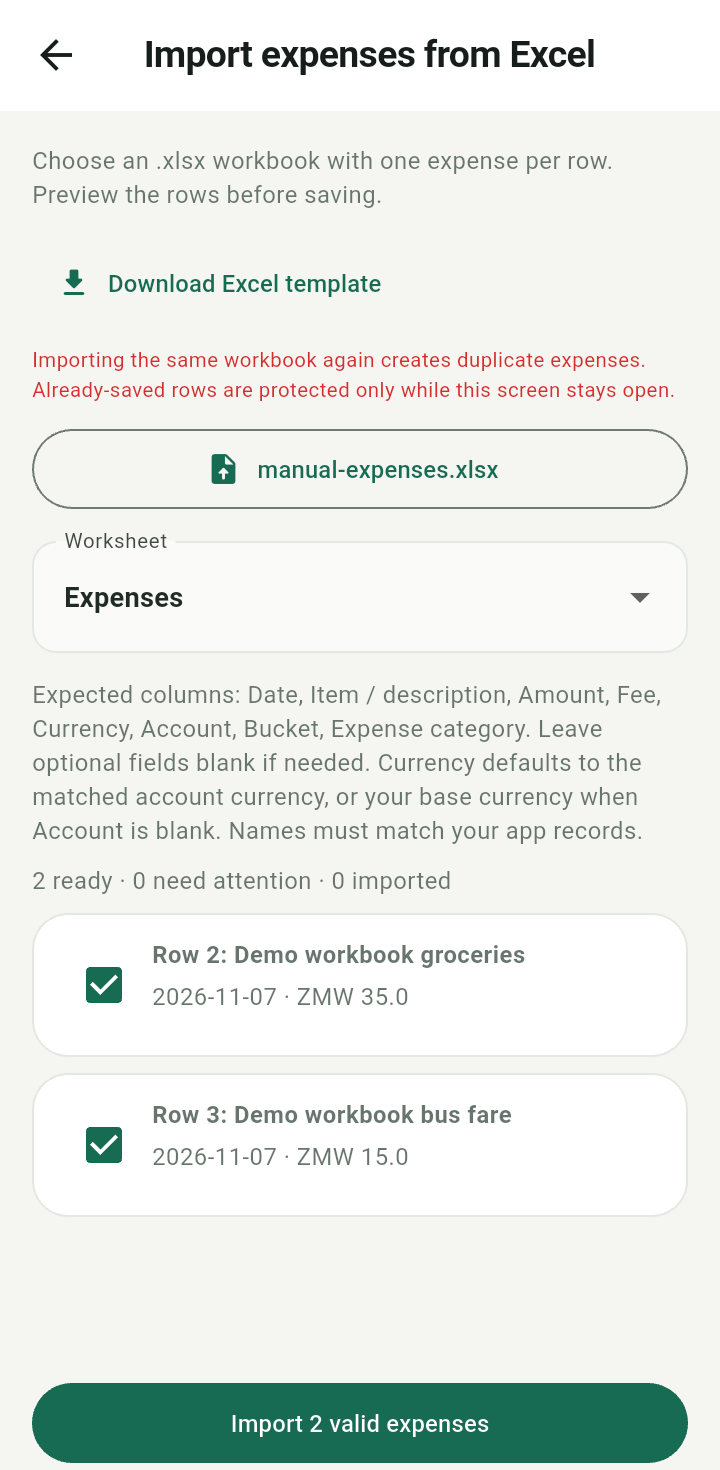
Workbook preview showing selected valid expense rows
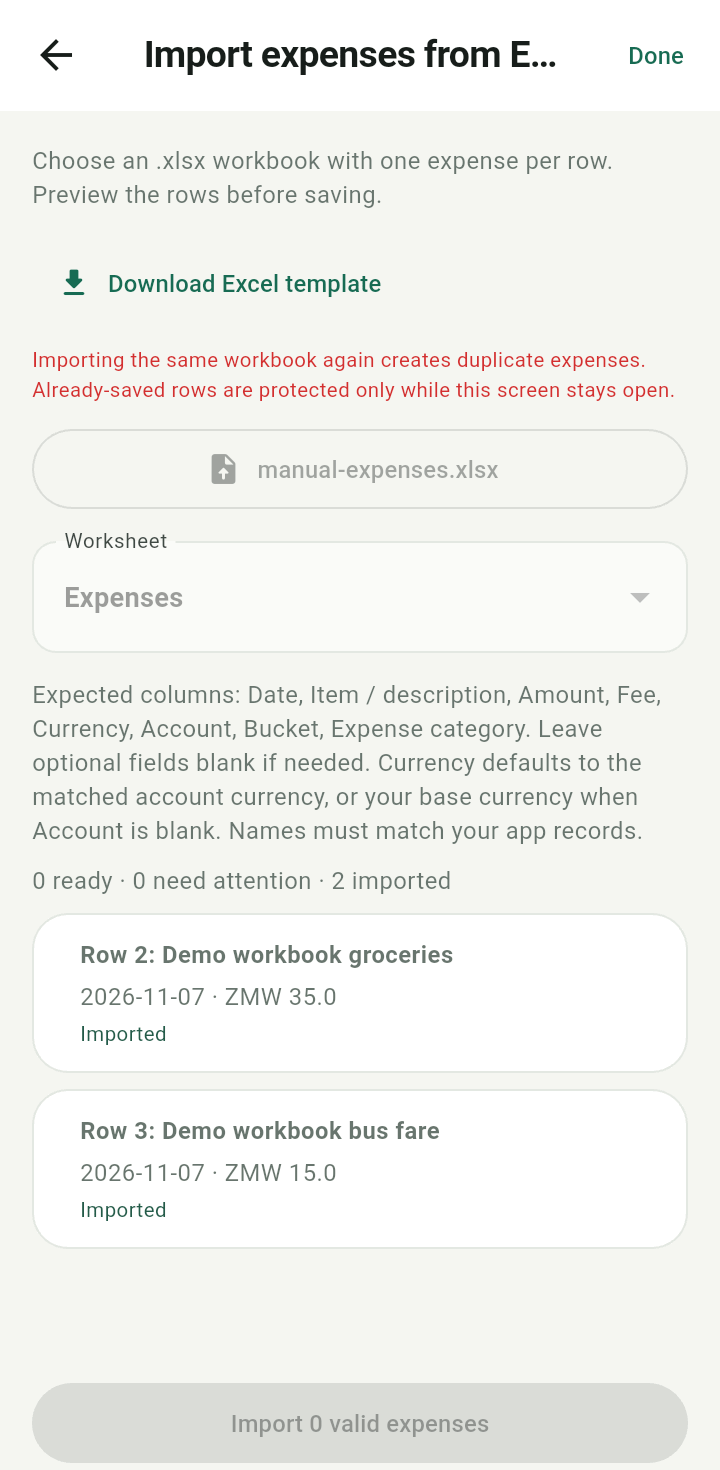
Expense import row-level results showing Imported
Rows save individually. Keep the results screen open to see which succeeded. Retry only failed rows: rows already imported are protected from retry while this screen remains open.